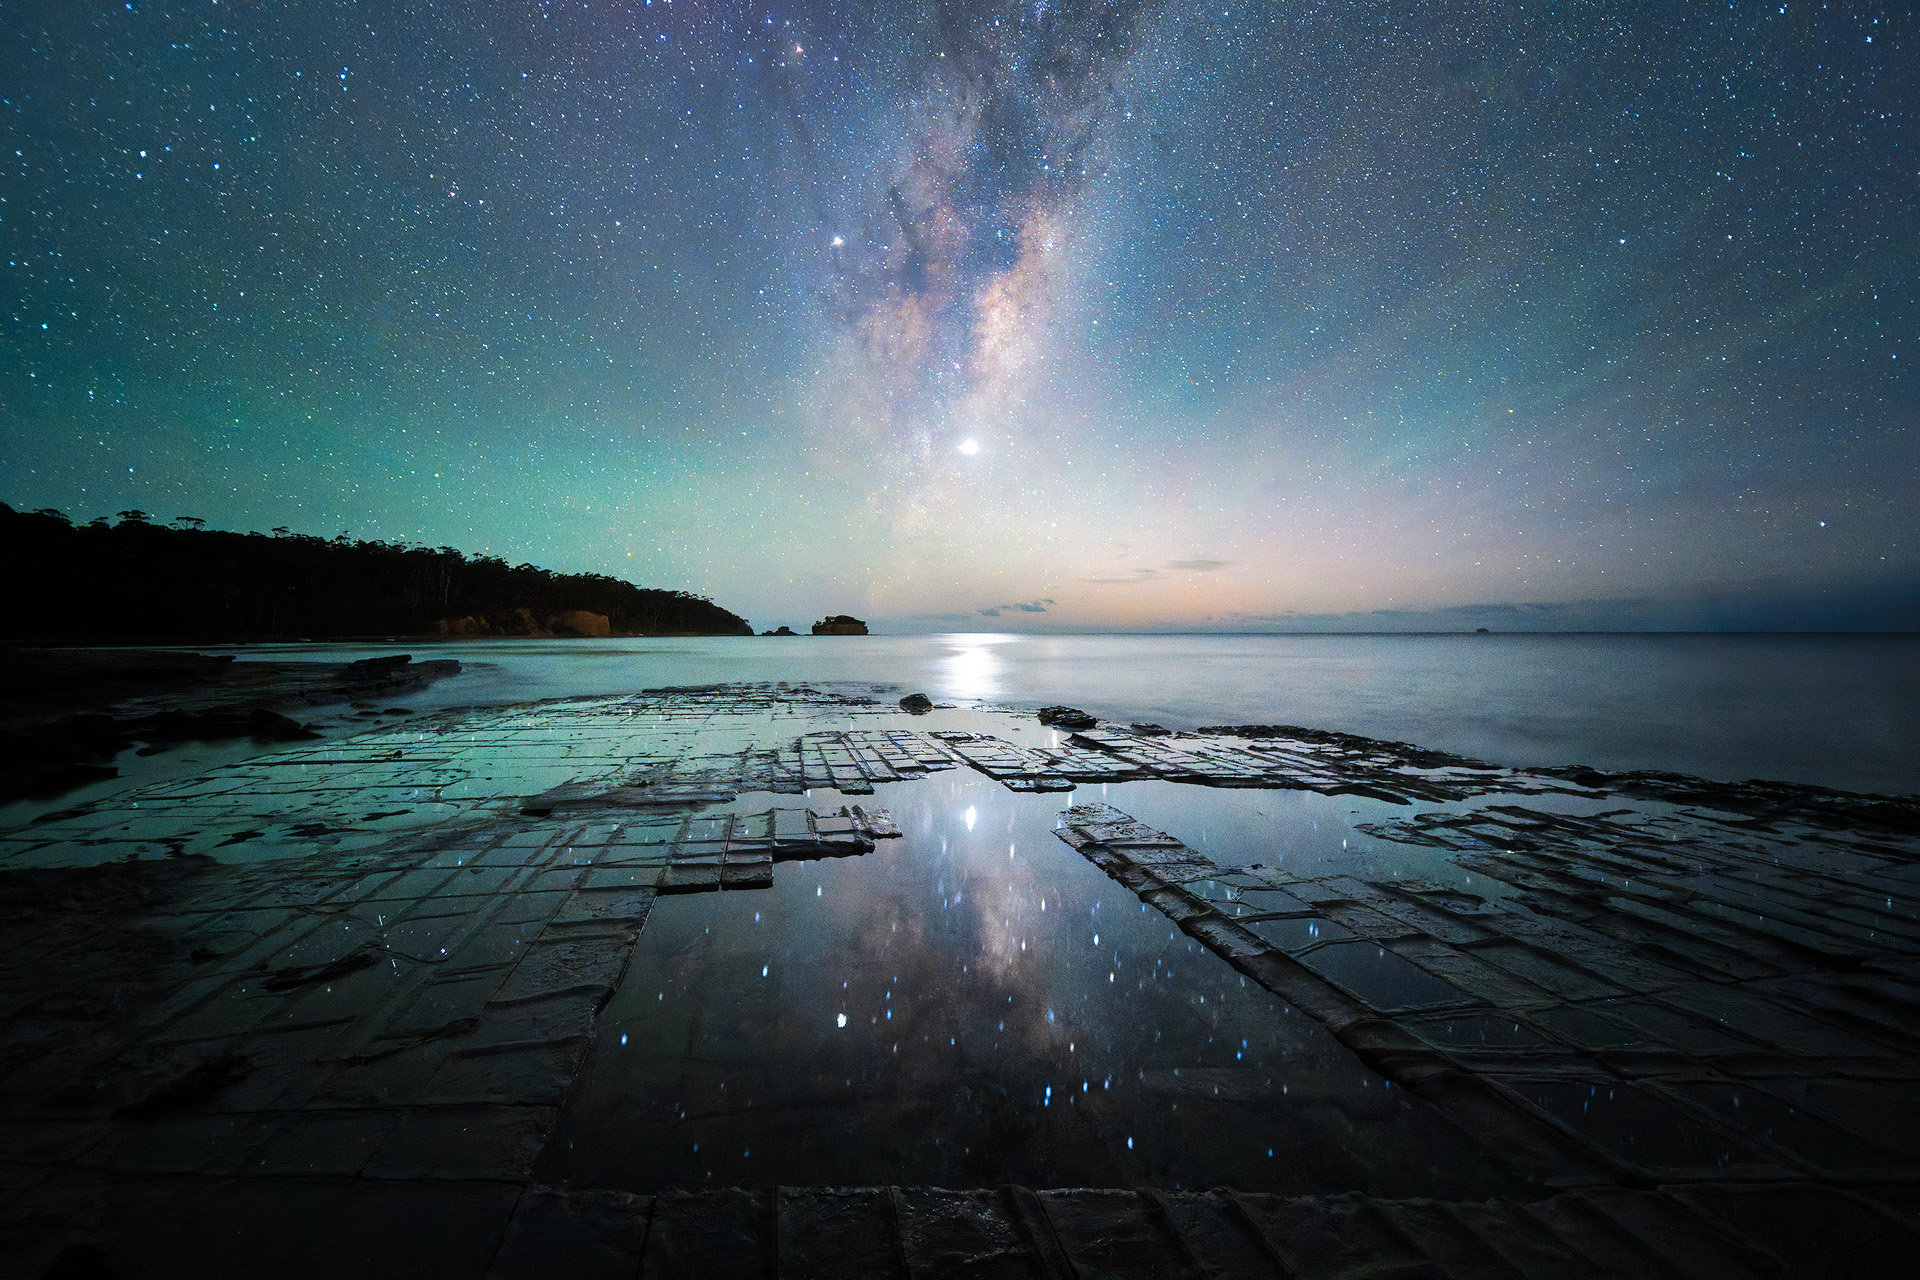
A practical process for capturing focus-stacked sequences from close foreground to infinity at night. This technique works for any situation where a single focus point won’t cover your entire scene, whether that’s night photography, long exposures, or close foreground landscape work.
What This Process Achieves
When you’re low to the ground or have a very close foreground subject, focusing on your subject may leave you with an out of focus background. If you focus on the background then your foreground may be out of focus. Focus bracketing solves this by capturing a sequence of shots at different focus distances that you can later blend into one sharp image.
Compatible Cameras
As of November 2025, the following Sony cameras support automated in-camera focus bracketing:
Sony A7R V, Sony A7CR, Sony A7C II, Sony A6700, Sony A1 II (native), and Sony A7 V (expected). Significantly, older models like the Sony A7 IV (via Firmware v4.00+), Sony A1 (via Firmware Update), and Sony A9 III (via Firmware) have gained this functionality through major software updates in late 2024 and 2025.
The Critical Setup Point
Your lens autofocus switch must stay ON.
This catches people out regularly. The camera uses the lens’s autofocus motor to move through the focus bracketing sequence. If you switch the lens to manual focus using the lens switch, the bracketing sequence won’t work at all.
Instead, you control focus mode through the camera menu while leaving the lens switch on AF.
Method 1: Setting Distance Manually
This is the quickest method when you can estimate your closest focus distance.
Steps:
- Switch your camera to Manual Focus via the camera menu (keeping the lens switch on AF)
- Turn the focus ring to set your starting point (usually 1-3 metres, depending on how close your foreground is). When you move the focus ring in MF mode, a focus distance guide appears on screen showing you exactly where you’re focused.
- Enable Focus Bracketing via the Drive menu (or press left on the rear control dial)
- Configure your bracketing settings:
- Step width: Use the middle/standard setting (this controls how much focus changes between frames)
- Number of frames: Set to 30 (the camera stops automatically once it reaches infinity, so it won’t waste frames)
- Take the shot. The camera captures a sequence starting from your set distance through to infinity.
- Check your infinity frame. Magnify the final frame to verify sharpness. If the stars or distant elements aren’t quite sharp, manually take one final infinity shot:
- Focus on a bright star or distant point
- Magnify the view
- Use the focus ring to make tiny adjustments until the point is sharp
- Take that frame
- Remember this additional frame is part of your sequence
- Turn Focus Bracketing OFF when finished (via Drive menu or left on rear dial)
Method 2: Using Light to Set Starting Point
When you want more precision for your closest focus point, use this method.
Steps:
- Illuminate your foreground subject with a white LED torch (briefly, just enough to focus)
- Set camera to Single-shot AF (AF-S)
- Let the camera autofocus on the illuminated foreground
- Once focus is locked, switch to Manual Focus via the camera menu (keeping the lens switch on AF). This locks in your closest focus point.
- Follow steps 3-7 from Method 1 above
When to Use Focus Bracketing
This technique is most useful when:
- You’re positioned low to the ground
- Your foreground is close (within 1-3 metres)
- You have both close foreground and distant elements (stars, horizon, mountains)
- You’re using ND filters for long exposures where you can’t check focus between shots
- Any situation where depth of field won’t cover your entire scene
Why Not Just Use a Smaller Aperture?
Stopping down far enough to get everything in focus (say f/16 or f/22) creates diffraction softness, particularly visible on high-resolution sensors like the A7R series. Focus stacking at optimal apertures (f/5.6 to f/8) gives sharper results than stopping down to smaller apertures.
Combining the Images (Focus Stacking)
The camera captures the sequence but doesn’t blend them together. You’ll need to stack the images in post-processing.
Option 1: Photoshop via Lightroom
- Select all the bracketed frames in Lightroom
- Right-click > Edit In > Open as Layers in Photoshop
- In Photoshop: Edit > Auto-Blend Layers
- Choose the Stack Images option
Option 2: Dedicated Stacking Software
- Helicon Focus (recommended)
- Zerene Stacker (alternative)
These programmes are designed specifically for focus stacking and often give cleaner results than Photoshop’s auto-blend.
Common Questions
How many frames will I actually get?
Depends on your starting distance and step width. The camera stops automatically when it reaches infinity, so you’ll typically get anywhere from 5-15 frames rather than the full 30 you set.
Can I do this for landscape photography in daylight?
Absolutely. Particularly useful when using ND filters for long exposures where you can’t check focus between shots.
What if I accidentally switch the lens to MF?
The focus bracketing won’t work. The camera needs the lens on AF so it can use the autofocus motor to move through the sequence.
Guide based on Sony camera systems. The key point to remember: lens switch stays on AF, you control focus mode through the camera menu.