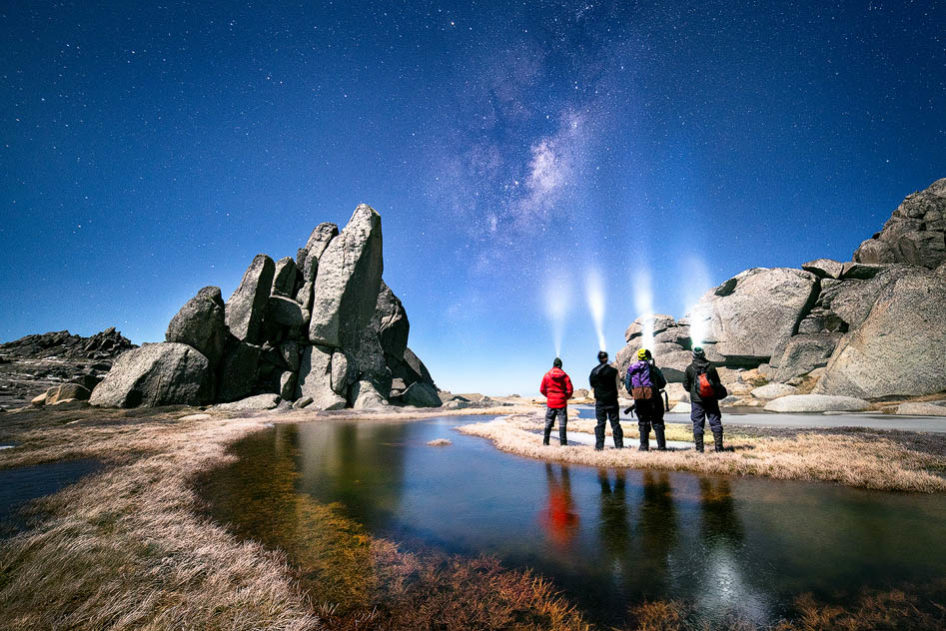
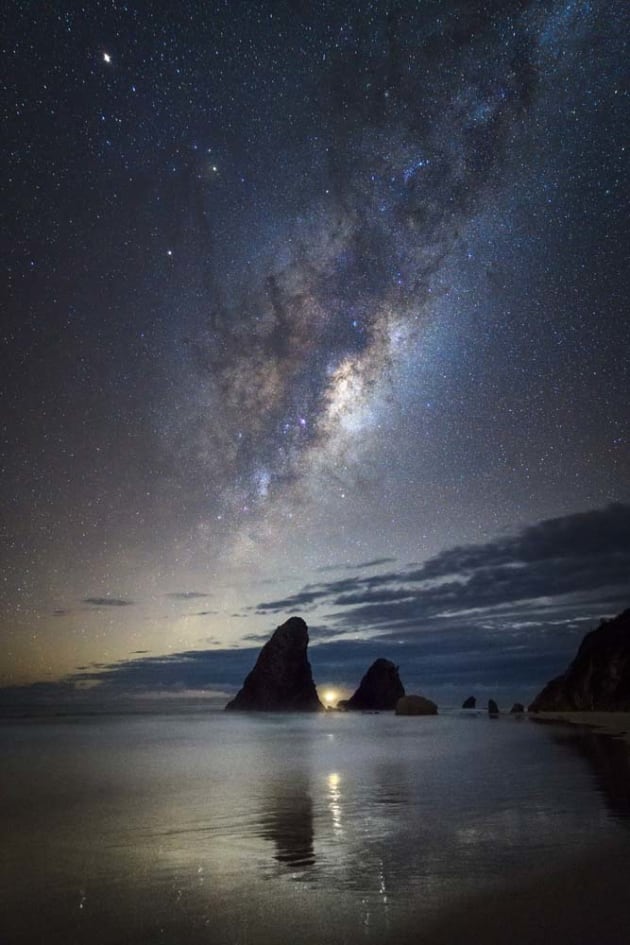
While it’s one thing to be struck by the splendour of the Milky Way, capturing it in a single photo can be challenging. Here’s how you can plan and execute the perfect Milky Way photo shoot.
Planning your location is key
In order to capture clear images it is hugely important you choose a location that doesn’t have much light pollution. To get shots of the Milky Way you need to adjust the ISO so the sensor is very sensitive to light. The downside is that any ambient light in your field of view will also be brighter and can have the effect of washing out the stars.
Light pollution is generally worst around big cities, and for that reason you will generally get better shots in the countryside. There are websites like darksitefinder.com, which are really useful if you want to find the perfect spot away from light pollution. Once you’ve scouted out your dark sky location it is useful to pay a visit during the day. This will help you pick your composition before you return in the dark.
Check the moon phase and Milky Way position
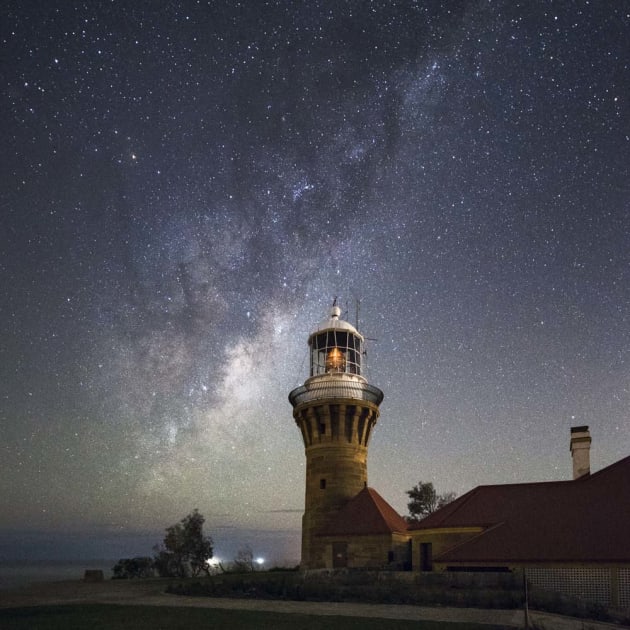
An illuminated moon can do just as much to wash out a starry sky as nearby city lights, so you need to pick a time for your shoot when the moon phase is favourable. For super dark skies pick a time around the new moon. Having a little bit of moonlight can be beneficial to naturally light the scene, so if the moon’s luminosity is less than 15 per cent it’s still worth a try. You can still capture the Milky Way in other moon phases, just check the moon-rise and moon-set times as skies will be darker after moon-set.
Understanding where and when the Milky Way will be in the sky is crucial to a successful shoot. Programs like PhotoPillls (iOS), Plan it for Photographers (Android), The Photographers Ephemeris (Android, iOS, desktop) and Stellarium (desktop) will help you work out where and at what time the Milky Way will be positioned relative to your subject. I personally use the augmented reality mode in PhotoPills to plan the Milky Way position for my shoots.
The galactic core of the Milky Way changes position in the sky depending on the time of year. In early January it is visible on the eastern horizon for only a brief period in the early morning before the rising sun washes out the sky. By the months of May and June the Milky Way rises over the eastern horizon just after sunset, allowing amazing shots of it hanging over the ocean in the eastern states. Towards August and September the galactic core becomes visible in the western sky as a large arc in the evening. Eventually by late November the galactic core is only visible as a small sliver on the horizon in the western sky after sunset. From early December you will not see it in the night sky again until January.
Pick the weather
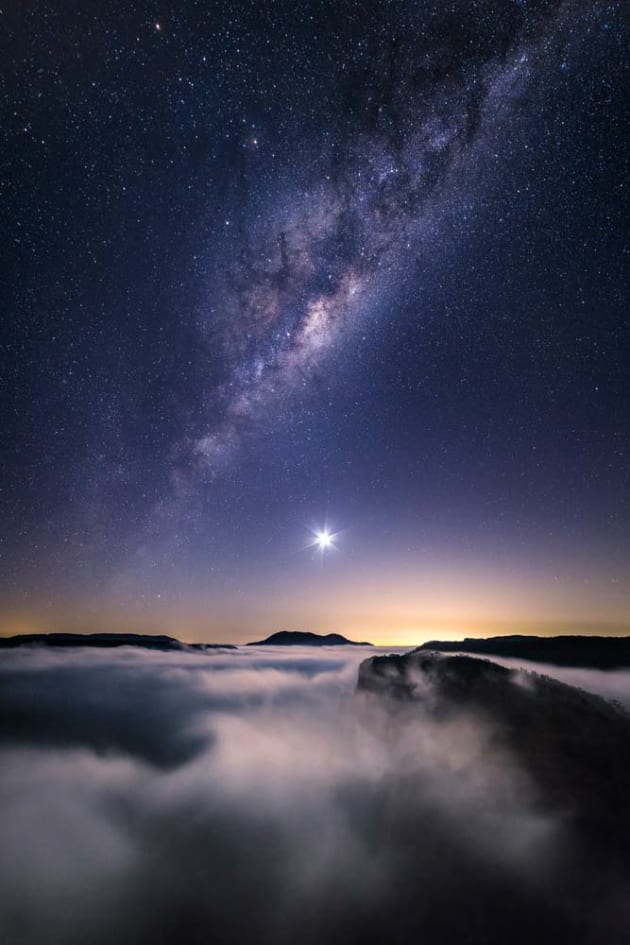
There are few things more frustrating than a huge bank of cloud moving in and ruining your shoot after all that preparation.
Apart from the standard weather apps like WillyWeather and Weatherzone, you can check the forecast conditions for your shoot using websites like skippysky or cloudfreenight.
The dewpoint is another parameter worth checking. If the dewpoint is above the ambient temperature, then condensation is more likely to form on the equipment. A common solution is to strap an activated hand warmer (you can buy them at outdoor supply shops) to the lens using a rubber band. By raising the temperature of the lens above the dewpoint, it should stop condensation from forming.
Understand your camera’s low-light performance
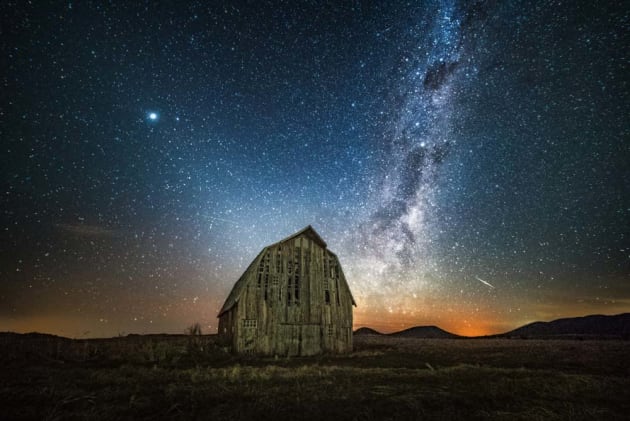
These days, most digital cameras are good enough to capture the Milky Way, though it certainly helps to have a camera that’s capable of producing clean images at high ISO settings. In astrophotography you often need to set the camera’s ISO above 4,000, just so the sensor can pick up the faint light of the distant stars. At those kind of sensitivity levels, the background noise in your images will increase. The question is, how much, and this varies from camera to camera.
I use a Sony A7S camera for my astrophotography, which lets me shoot at ISOs as high as 12800. This camera has a large, full-frame sensor but offers a relatively small 12-megapixel resolution. The advantage of this setup is that the photosites on the sensor are much larger than higher resolution cameras. If you think of a camera sensor as millions of little light cavities or ‘buckets’ then the bigger these buckets are, the more light they can capture.
If you are not sure which ISO is best for your camera, a common starting point is ISO 3200. Start there and adjust up or down depending on how much noise you see in the final image. If there’s too much noise, reduce the ISO by half. If your images are still quite clean at 3200, double the ISO and try again.
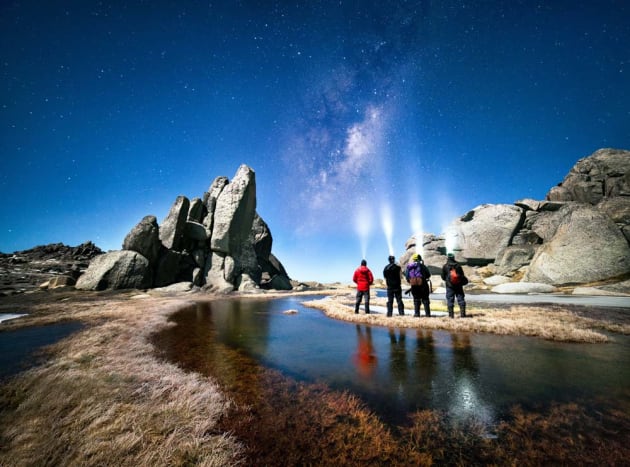
Keep it steady
As the shutter will need to be open for a long time during the exposure, you’ll need a sturdy tripod to keep your camera still. This is particularly important if you are shooting star trails, where subtle movements of the tripod can be a nightmare to correct in post processing.
A shutter release cable is handy if you need to use bulb mode. Most cameras have 30 seconds as the longest exposure time and if you need to go beyond this you will have to use bulb mode. To capture stars without trails you may find 30 seconds is sufficient, and therefore a shutter release cable may not be required.
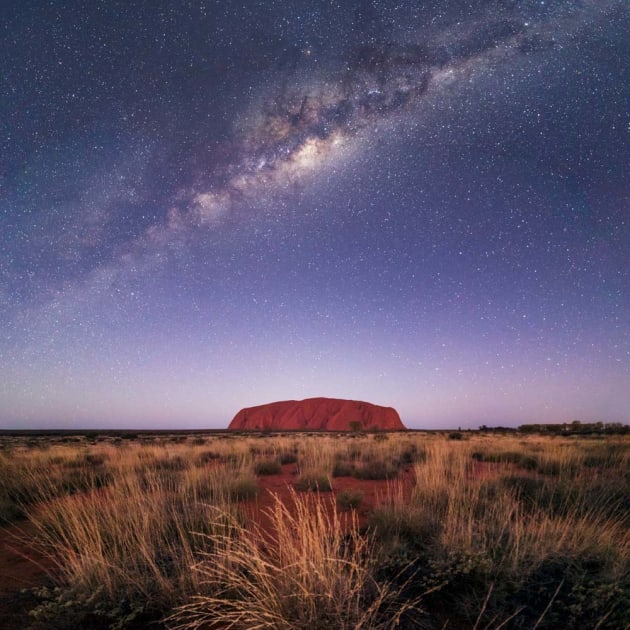
The right lens
Wide-angle lenses are generally best for astrophotography as they fit more of the sky in the frame. The Samyang 14mm f/2.8 is great value and quite popular for astrophotography – I use it for most of my night images. Another advantage of wide-angle lenses is they allow longer exposures before star trailing is evident in the frame. When you use a lens with a longer focal length the stars are comparatively larger in the frame, and consequently the star movement is more noticeable earlier into your exposure. Use the widest aperture of your lens to allow as much light into the sensor as possible. Lenses with maximum apertures of f/2.8 are popular in astrophotography for this reason.
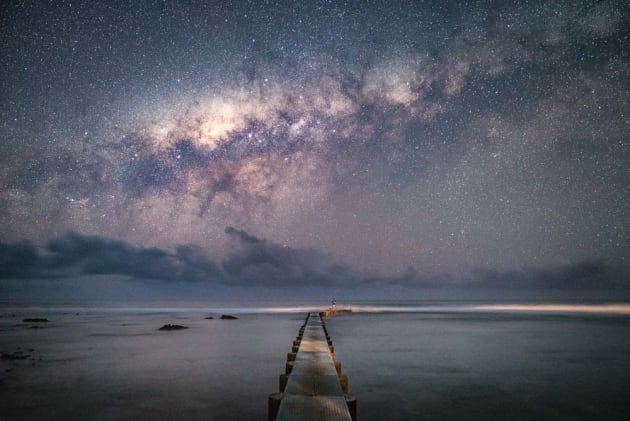
Focus in the dark
Obtaining critical focus in the dark can be tricky. Even the best autofocus systems struggle at night so switch your lens to manual focus. From here, just set the focus distance to infinity. Just be aware this may render your foreground out of focus if it is close to your camera, especially if you are shooting at f/2.8. If the foreground is reasonably close you might find it helps to back off from infinity slightly. This is another advantage of working with wide-angle lenses as they deliver more depth of field, and most of the scene should be sharp even at f/2.8 – as long as you focus correctly.
Trial and error may be required to get it right, and don’t forget to review your images to confirm they are in focus. It’s a lot better to check in the field and reshoot as required, than to get home and find all your images are soft. I am speaking from experience here!
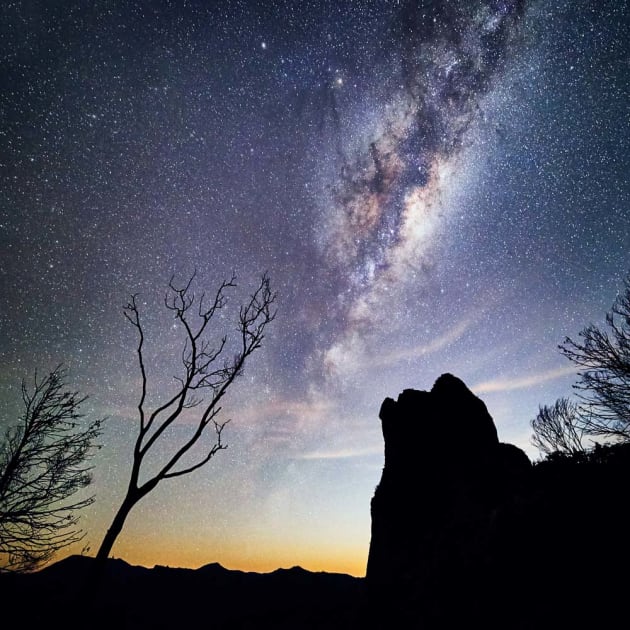
Get your exposure right
Selecting the best shutter speed (exposure time) depends on some of the factors we’ve already mentioned. The key is to know your focal length as this will determine your maximum shutter speed in order to avoid star trails. As a general rule, dividing 500 by the focal length of the lens (full frame equivalent) will determine this maximum shutter speed. For example 500 divided by 24 is 21. Therefore, for a 24mm lens on a full frame camera, your exposure time should be 21 seconds or less if you want your stars to appear nice and sharp. This is just a rule of thumb and it’s worth experimenting to see what works best for you and your camera. If I’m shooting with my 42-megapixel A7RII I tend to find that using 400, rather than 500, produces a more accurate maximum shutter speed.
Post processing
Post processing is really important with Milky Way shots. Good noise reduction software like Nik Define will help you clean your shots up. You can also increase the black level and contrast to bring out the sky and make the stars pop. The clarity and dehaze sliders in Adobe Lightroom and Adobe Camera Raw can have a big impact in bringing more detail out in the sky, but be careful not to overdo it. You can learn more about astrophotography post processing on a private or group astrophotography workshop. Visit the workshops page for more information.
This article originally appeared in the April 2017 issue of the Australian Photography Magazine.
Luke runs Astrophotography Workshops across Australia, where you can learn how to photograph the milky way. Visit astroworkshops.com for more details.

